Review can only be performed by reviewers. To become a reviewer, see Adding Reviewers
The review process is about reading translations in the 'translated' state and determining whether they are technically correct translations of sufficient quality. These instructions show how to use the user interface for accepting or rejecting translations, but does not aim to teach how to decide whether a translation should be accepted.
Ready for review
Translations are considered ready for review when they have 'translated' state, which is shown as green bars on either side of the translation string.

Filtering the view
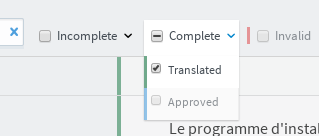
If only some of the translations are in 'translated' state, such as if the document is only partially translated or has already been through an initial review, it may be helpful to filter the view so that only 'translated' strings are shown. This is done by checking Translated state in the Complete category near the top of the editor.

Note: When showing only Translated strings, any strings that you accept or reject will stop being shown when you move to the next page of the document. If this does not suit your workflow, you can can also show Rejected and Approved strings to make sure reviewed strings remain visible.
Accept and Reject buttons
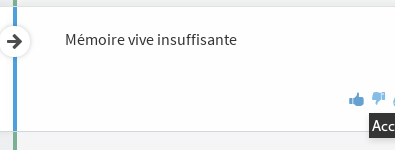
If you have review permission for a document, you will see an extra pair of buttons next to each editor cell to accept or reject the translation. You will have review permission if you are a reviewer for the language, or if you are a maintainer for the project. Maintainers may wish to review strings to make sure they are correctly formatted for the environment, particularly for software translations.

Accepting Translations
If you decide a translation is acceptable and does not need any change, it can be approved simply by pressing the Accept translation button next to the editor window. This will change the state to Approved.

Approved state is is shown as blue bars on either side of the translation string.
Rejecting Translations
If a translation is not yet acceptable, it can be rejected so that translators know that it needs to be changed.
To reject a translation click the Reject translation button next to the editor window. This will open a dialog where you can enter the reason for the rejection.

You must enter a reason for rejecting the translation - the Confirm rejection will not work until a reason has been entered. This is to make sure that translators can make the right changes so that the translation is acceptable, rather than trying to guess why it was rejected.
Rejected state is shown as orange bars on either side of the translation string. You will also notice an indicator on the top right of the text area showing that there is a comment. Clicking the comment indicator will open the history view where the comment is shown.

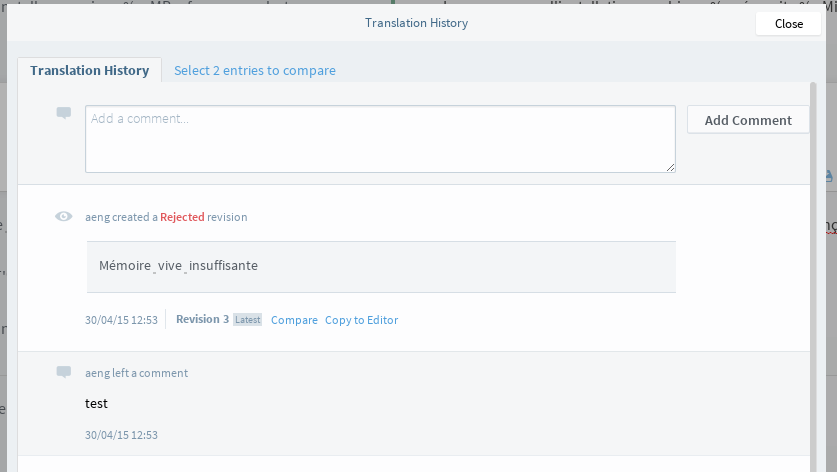
You can also open the history view by clicking the History button on the right.

When a translation is rejected, the reason for the rejection is shown as a comment in history view, with the Rejected state shown above it.
There is also a space where additional comments can be added. This may be useful for discussing a rejected translation, but keep in mind that at the time of writing, reviewers do not yet receive any notification when there is a new comment on a rejected translation.
